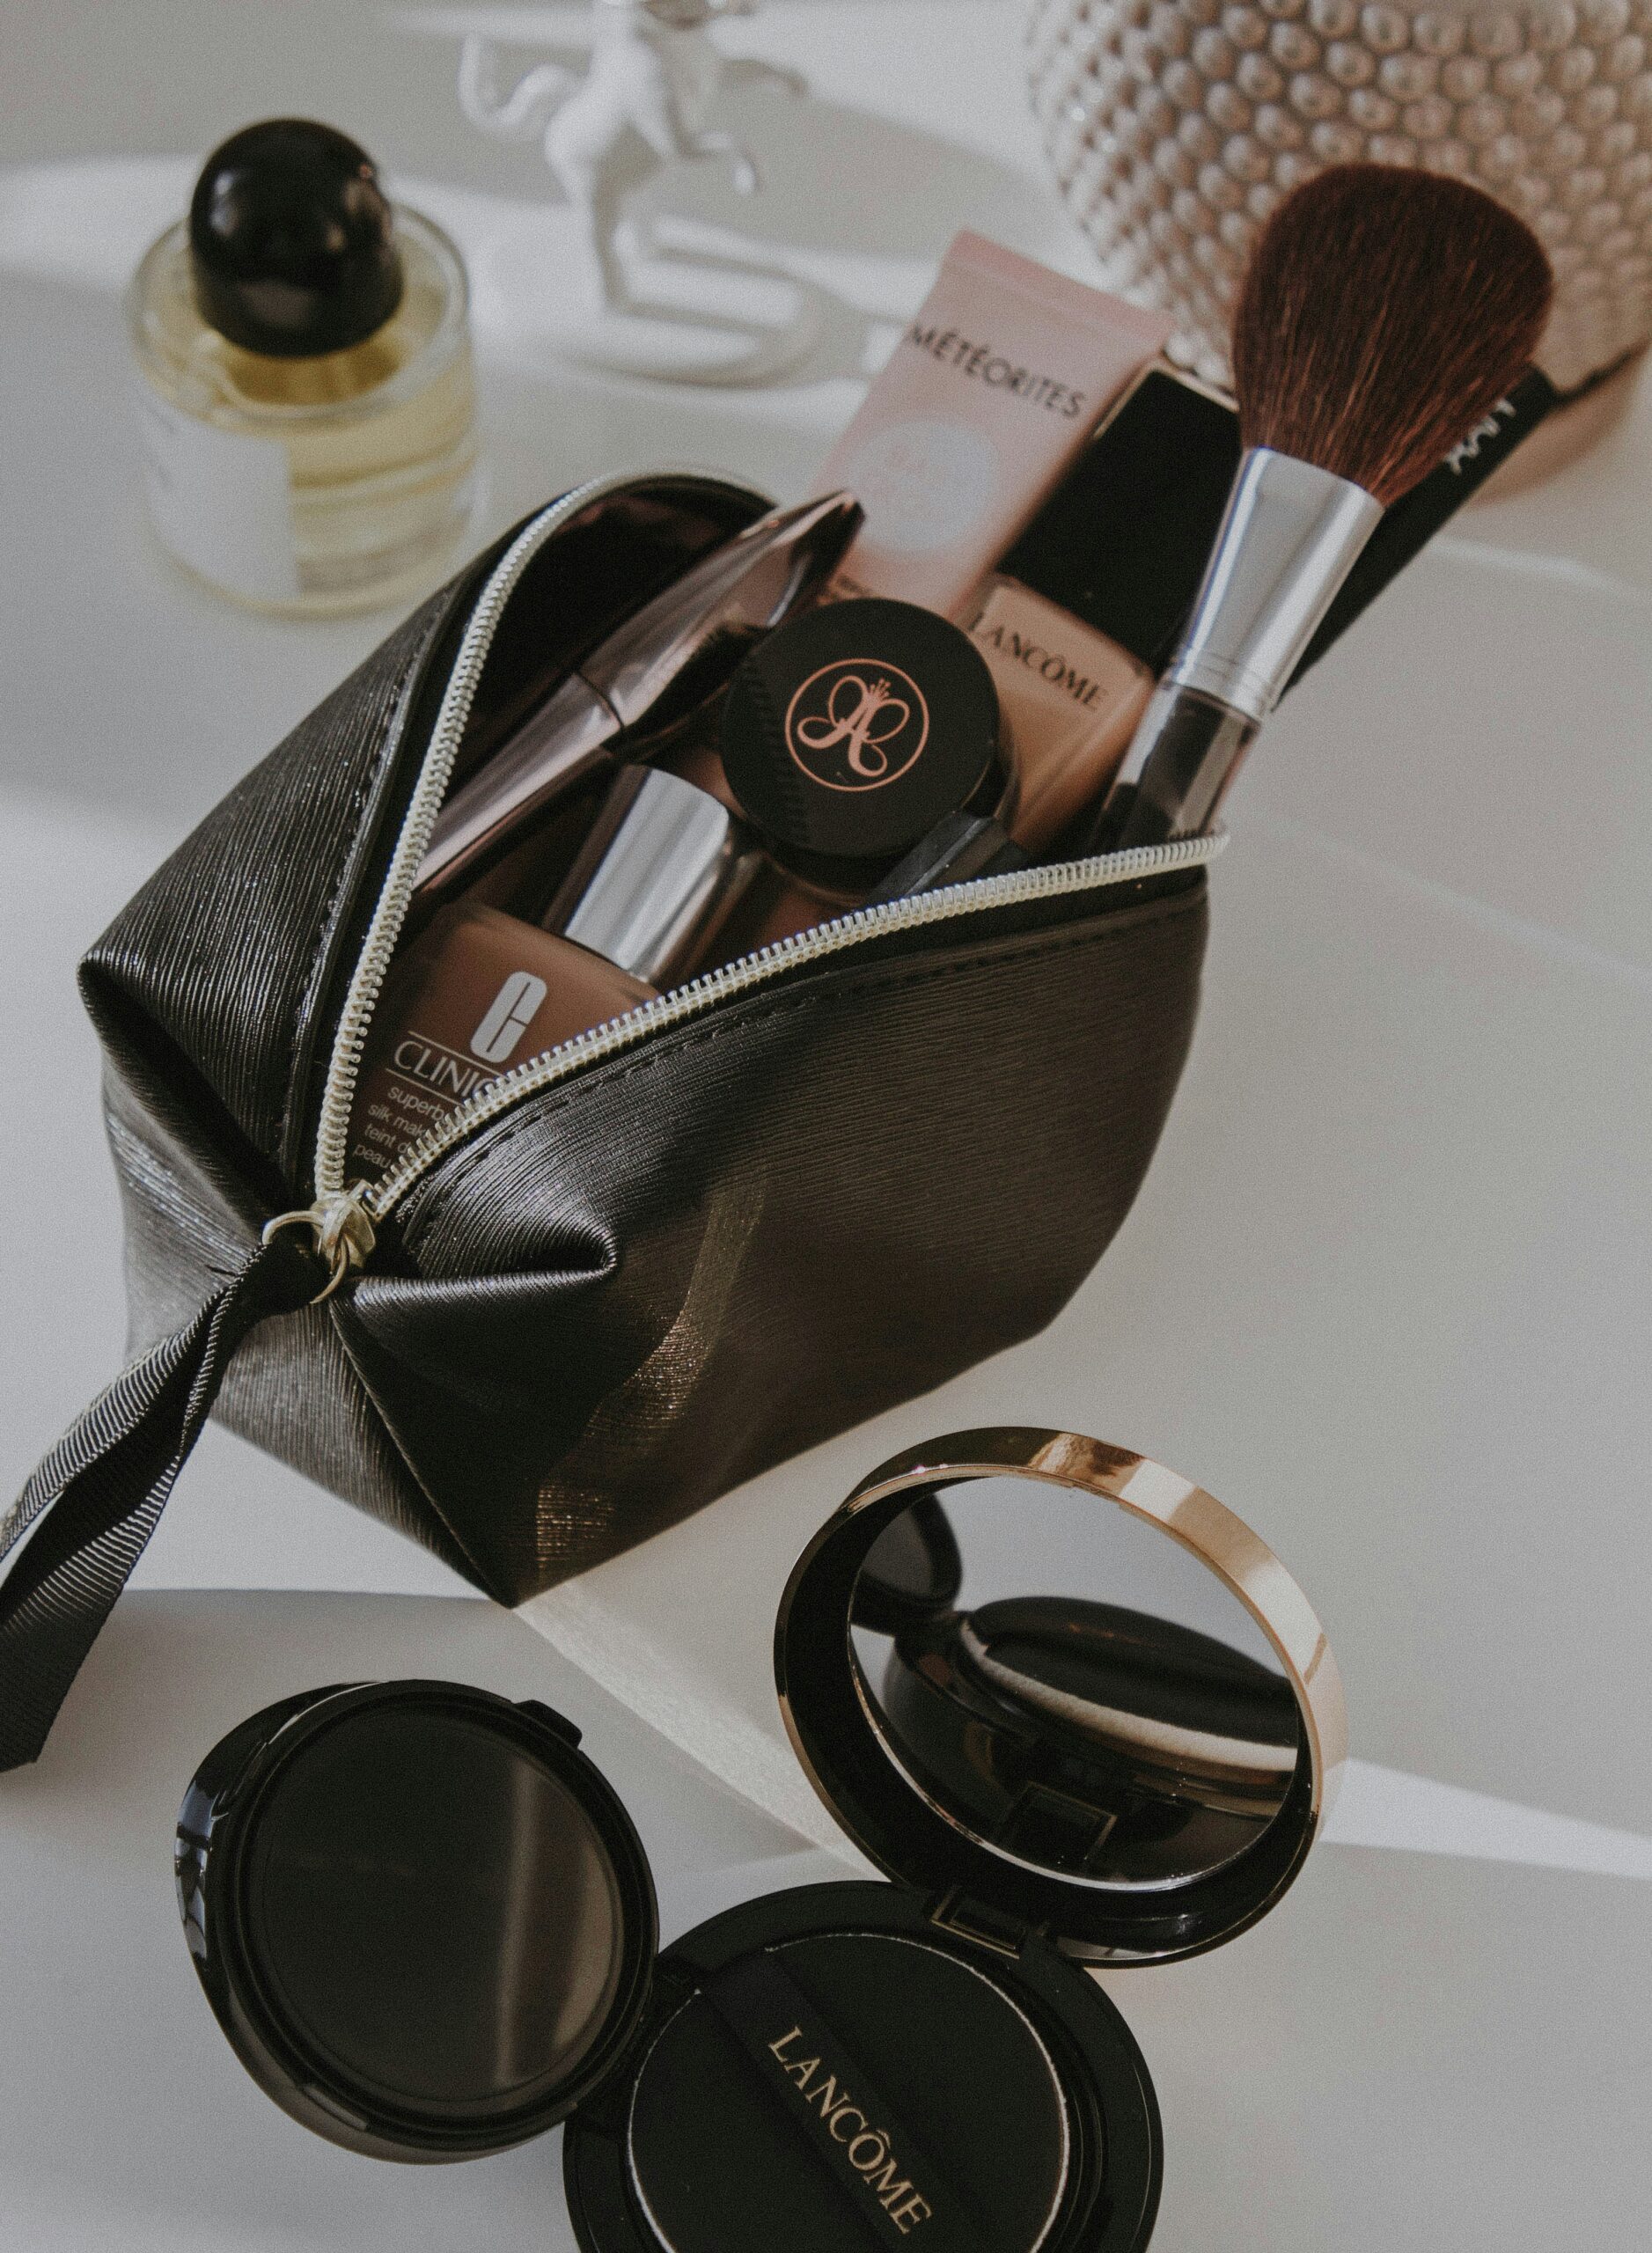
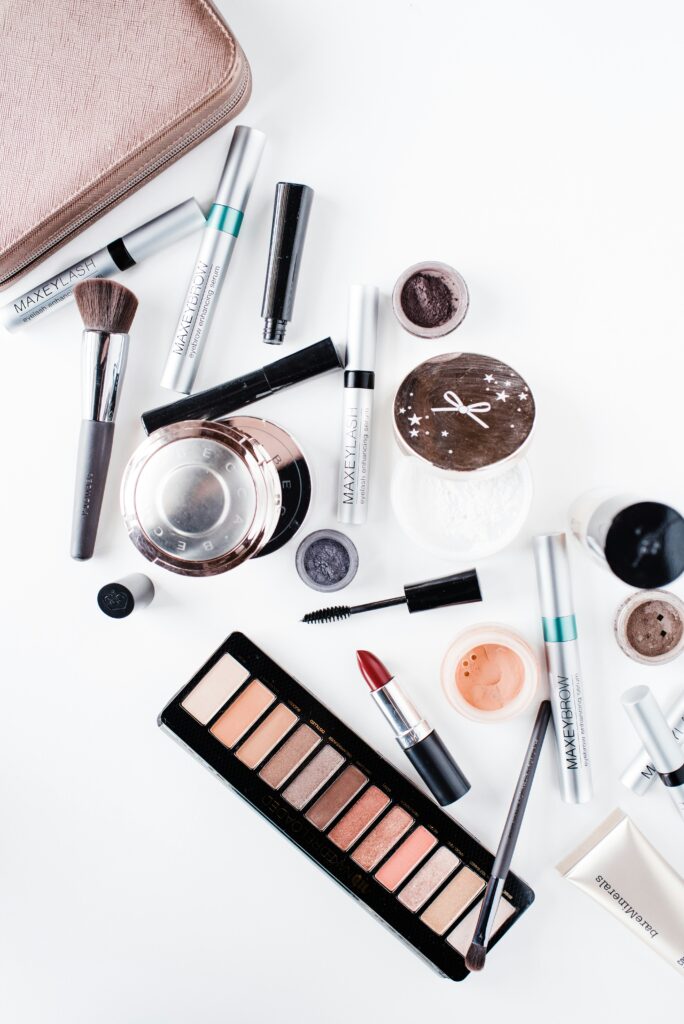
If your makeup has become a jumbled mess of used products and expired cosmetics, it’s time for a makeup kit detox. Here are a few pro pointers to help when spring cleaning your makeup and to ensure you’re only using the best products for your skin.
1. Assess Your Collection
Begin by emptying your makeup bag or kit and laying out all your products. Take stock of what you have and separate them into categories: keep and toss.
2. A Rule of Thumb for Makeup Expiration Dates
Most beauty products don’t have expiration dates like food products, but there is a way to know when something’s not at its freshest. On almost every product, or sometimes on the packaging it came in, there’s an open container symbol that looks like a jar with a number and the letter M next to it, denoting how long that product will last from the time you crack it open. For example, 3M means three months, 6M means six months, 12M means a year, and so on. This just means that the product will perform its best for that amount of time once it’s been opened and exposed to air, since oxygen and use have a way of slowly breaking down a formula.
Contact with your face and hands can also introduce bacteria into your products. Most of the time nothing bad happens, but worst-case scenario, using expired, bacteria-laced products could cause an allergic reaction or infection. When in doubt, throw it out!
How Long You Can Expect Most Products to Perform
- Foundation: one year if it is water-based, slightly longer for oil-based formulas
- Sunscreen: one year, write the date on it when you open it
- Lipstick: one to two years
- Lip gloss/liquid lipstick: six months to one year
- Mascara: three to six months (less if it starts to change in texture or smell)
- Powder makeup: two years
- Cream/liquid makeup: six months to one year
- Liquid eyeliner: three to six months (same rules apply as mascara)
- Pencil/gel eyeliner: one year (sharpen every couple of uses to shave off any bacteria-laden bits)
Look for Signs of Spoilage
Even if a product hasn’t expired, it can still spoil. So, a top tip for spring cleaning your makeup is to look for changes in color, texture, or scent, which can indicate that a product has gone bad. Common signs include a rancid smell or separation of ingredients.
3. Declutter Your Collection
Be ruthless when decluttering your collection. Toss products that you no longer use or that don’t suit your skin tone or type. If you’re not sure about which colors work for you, bring your kit to a professional lesson to help you sort and eliminate.
4. Check & Clean Your Brushes and Tools
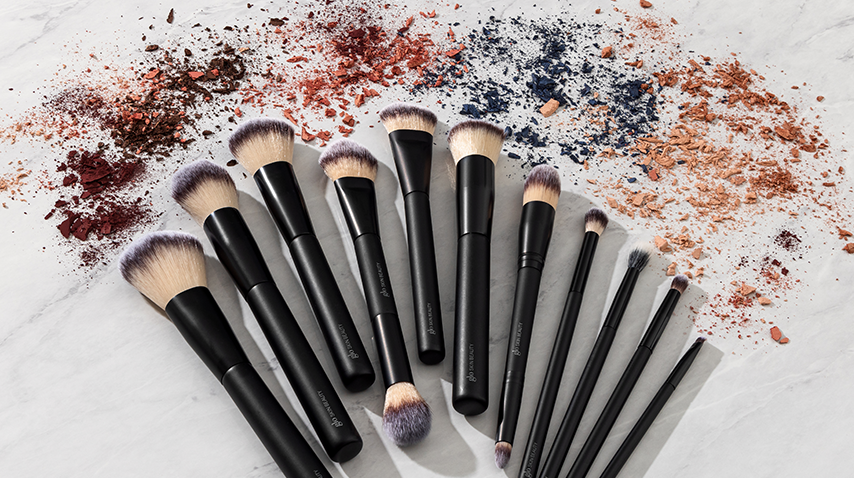
Don’t forget to clean your makeup brushes and tools regularly. Throw out any brushes that are old and losing fibers. At least a couple of times a month, use a gentle brush cleaner or mild soap and water to remove makeup residue, dirt, and bacteria. Let them air dry thoroughly before using them again. After cleaning your brushes lay them on a rolled towel, facing downward, or on a counter edge, so water doesn’t get into the ferrule.
If you’re not using a mild soap, here are a few good brush cleaner options:
Cinema Secrets Professional Brush Cleaner
Blendercleanser® Solid Lavender Scented Sponge & Brush Cleanser
Cleansing Reminders:
- Do not submerge your brushes in water or alcohol. This can weaken the glue in the ferrule that holds the bristles together.
- Do not use hot water to clean your brushes.
- Do not swirl/scrub the brushes too hard. This may damage fibers or cause brushes to lose their shape.
- Let your brushes dry completely before storing them in an upright position.
5. Organize Your Products
Once you’ve decluttered and cleaned your makeup kit, it’s time to organize your products. Use dividers, trays, or a makeup organizer to keep everything neat and accessible. Consider organizing products by category (e.g., face, eyes, lips) for easy access.
There are great options for makeup storage. Like your closet, if you can’t see it, you won’t wear it. Find a system that works for your collection and invest in some good storage options.
6. Stay Mindful of New Purchases
Lastly, be mindful of new purchases. Before buying a new product, consider whether you need it and whether it will complement your existing collection. This will help prevent your makeup kit from becoming cluttered again in the future.
Spring cleaning your makeup kit is a great way to refresh your collection and ensure you’re using safe, high-quality products. Like an organized closet, a cleaned makeup collection brings joy and ease to getting ready in the morning. Cheers to a fresh start and a beautiful makeup kit!
Related


